
Casting in Cement
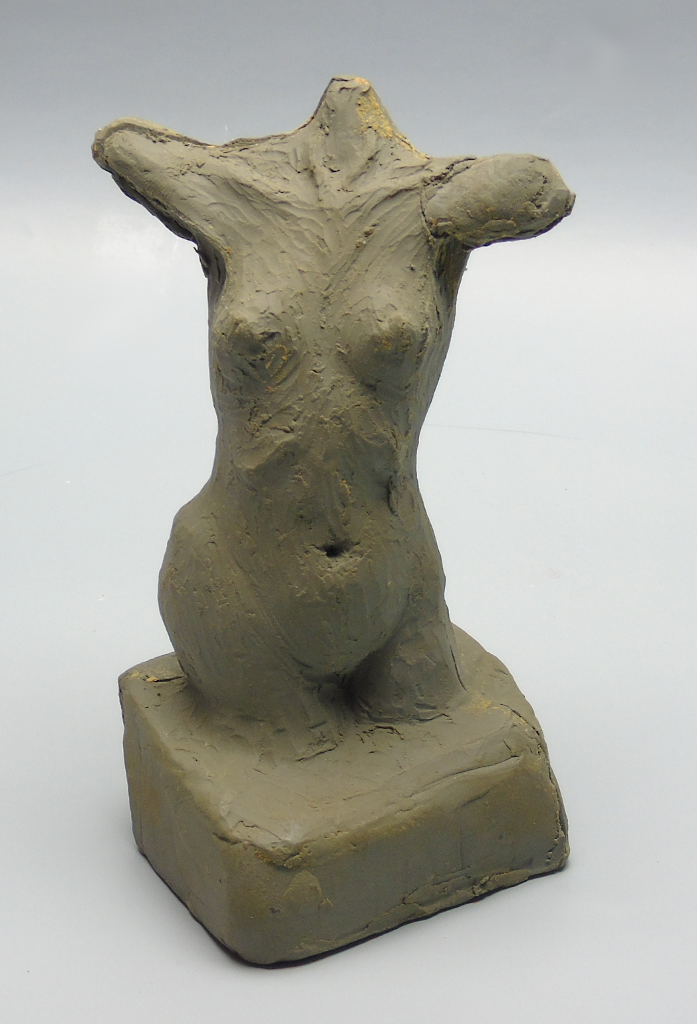 Model
The first step in creating a sculpture in cement is to make a model. This is most often done using clay.
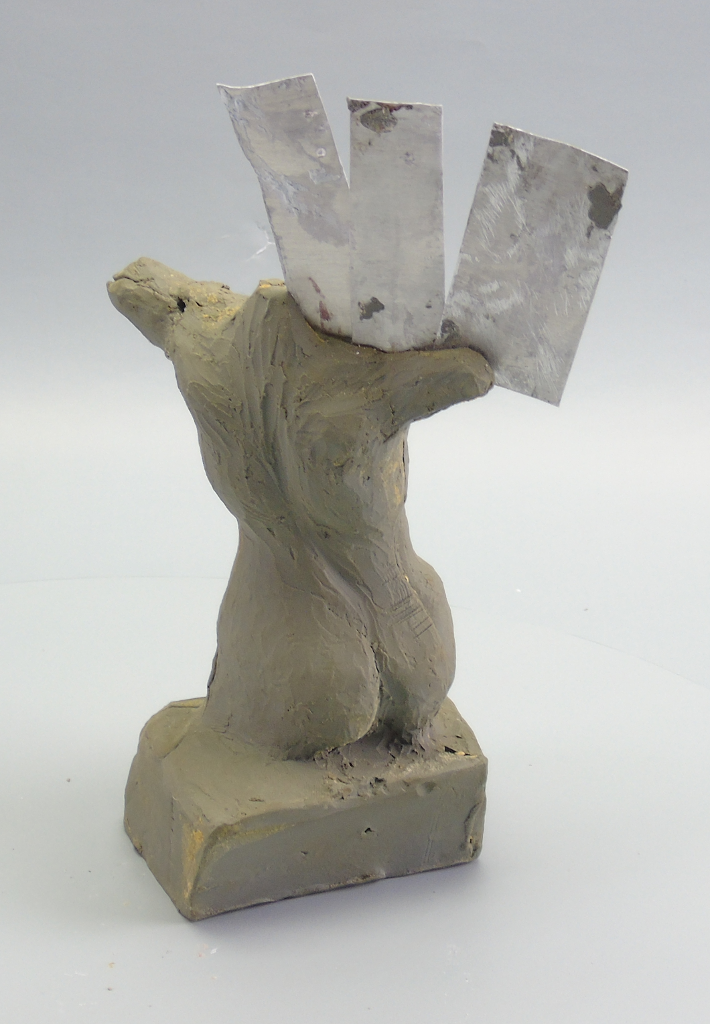
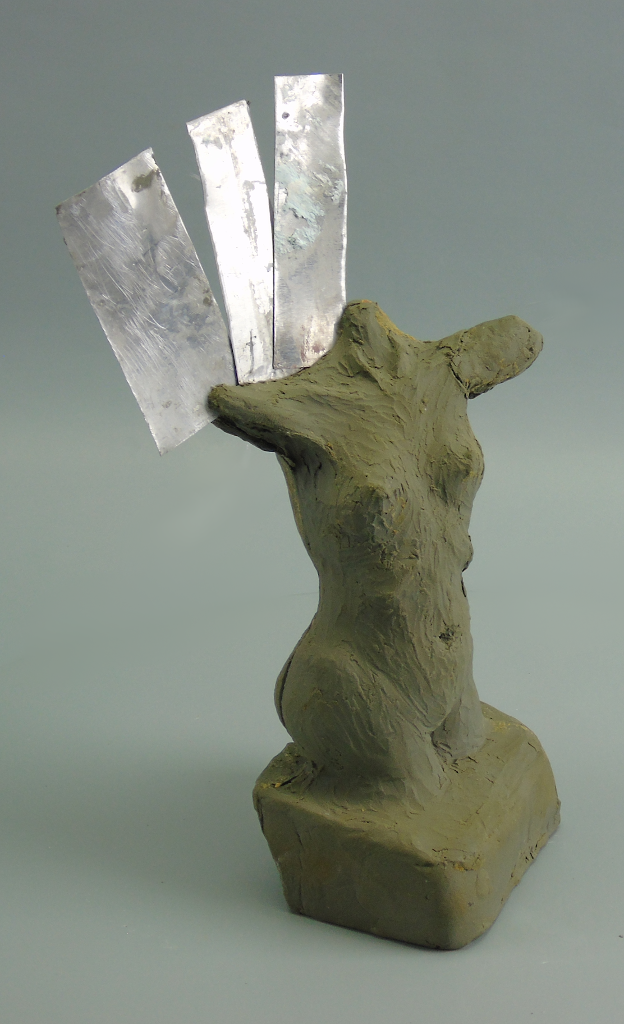 Model
Once the model has been completed to satisfaction, the next step is to divide the model in half by using thin metal shims stuck in the clay.
Shims will be added to this model all the way around so that there will be two distinct sides to the model.
Shims will be added to this model all the way around so that there will be two distinct sides to the model.
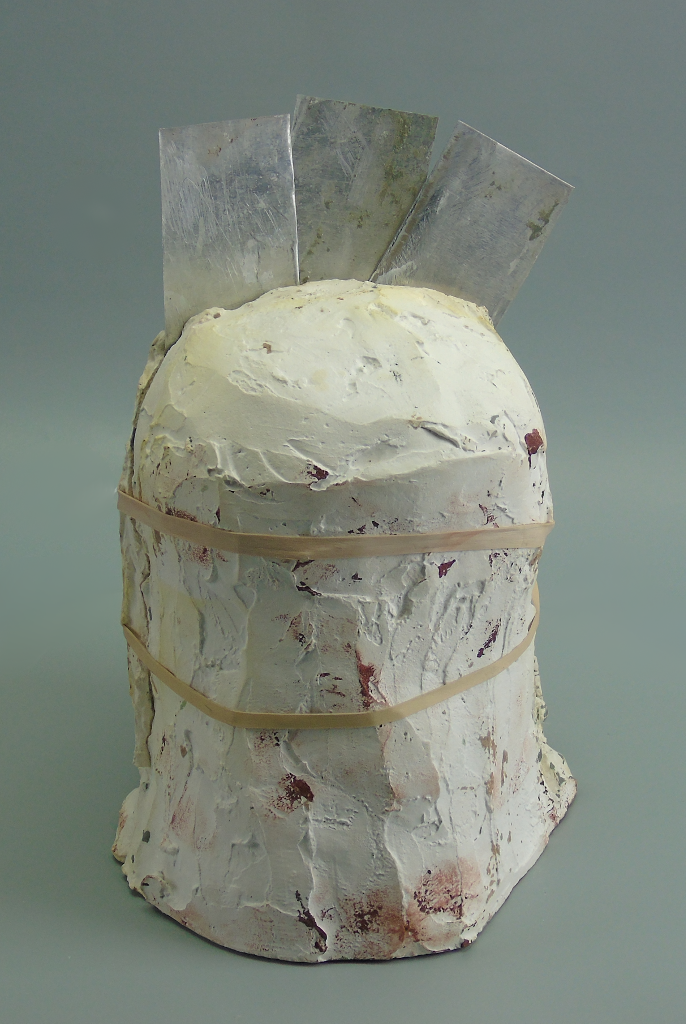 Mold
The model is covered with a molding compound, in this case, plaster of paris. Another commonly used molding material is silicone.
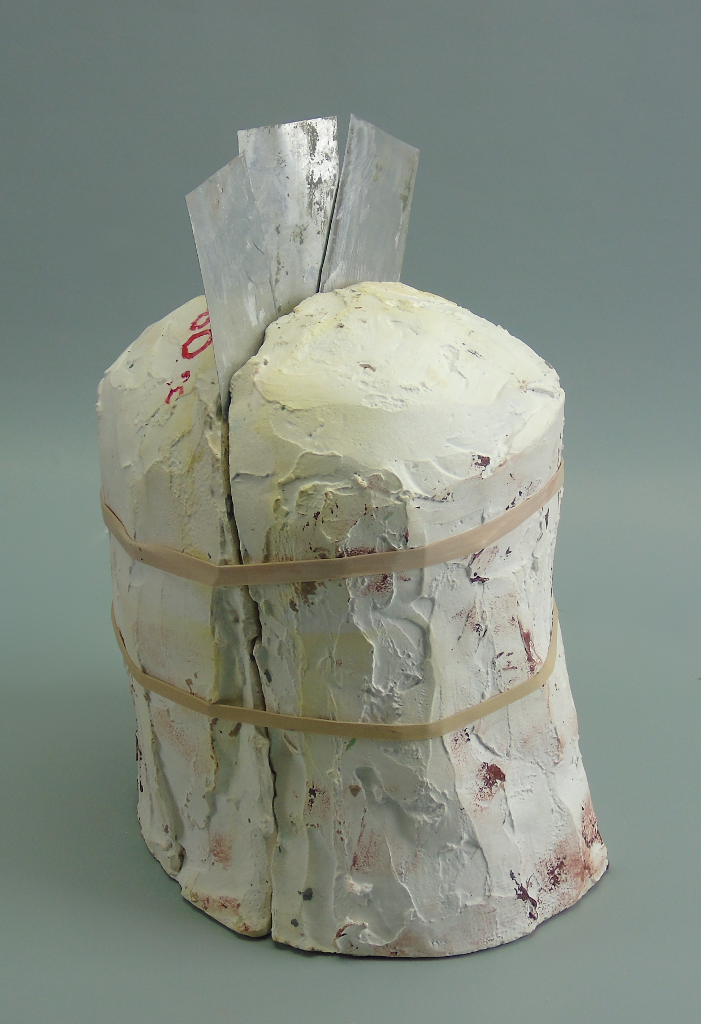
Once the model is covered in plaster, the shims will protrude from the mold. When the shims are removed, there will be a seam between the front and the back of the model.
In this case, only three of the shims are still in place, but when they were intact, shims went all the way around the plaster mold.
 Mold
This picture clearly shows the seam between the two halves of the mold.
 Mold
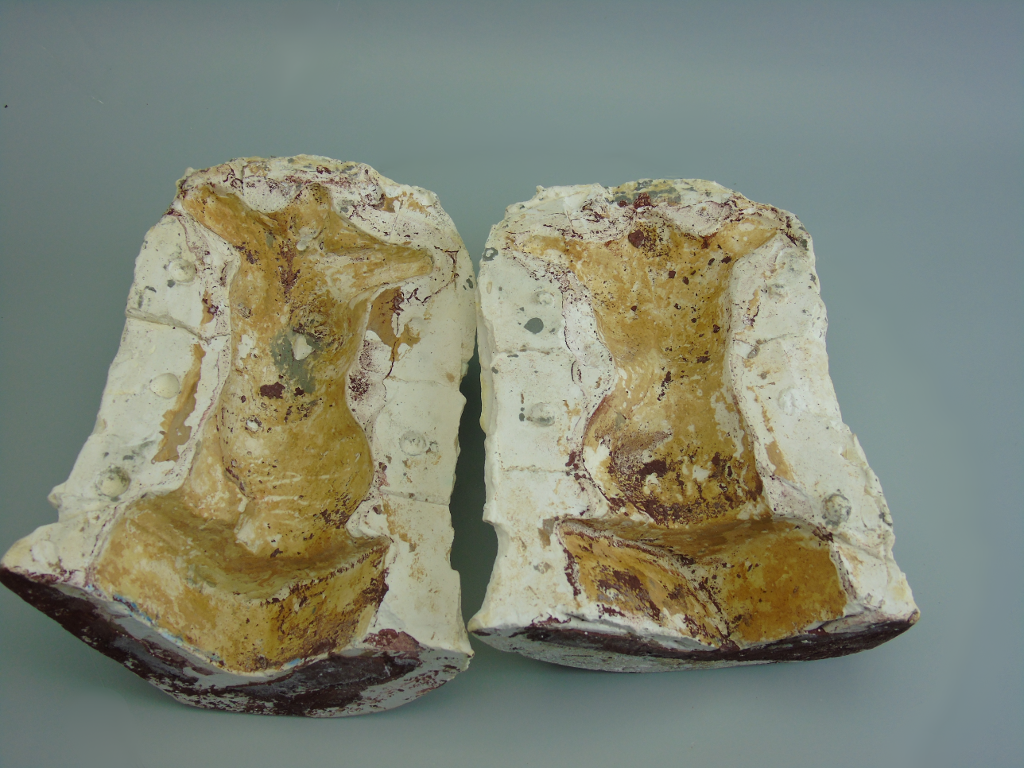
When the plaster has set and the shims are removed, the mold is opened and the model removed.
This leaves a negative impression of the model.
In most cases, especially where there are deep undercuts, the model is damaged upon removal. Because the clay is softer than the hardened plaster, it will tear away when the mold is opened. This is ok because the clay is a temporary medium.
By sacrificing the model to obtain the mold, the art item can be made permanent by casting into a more substantial medium such as cement.
 Mold
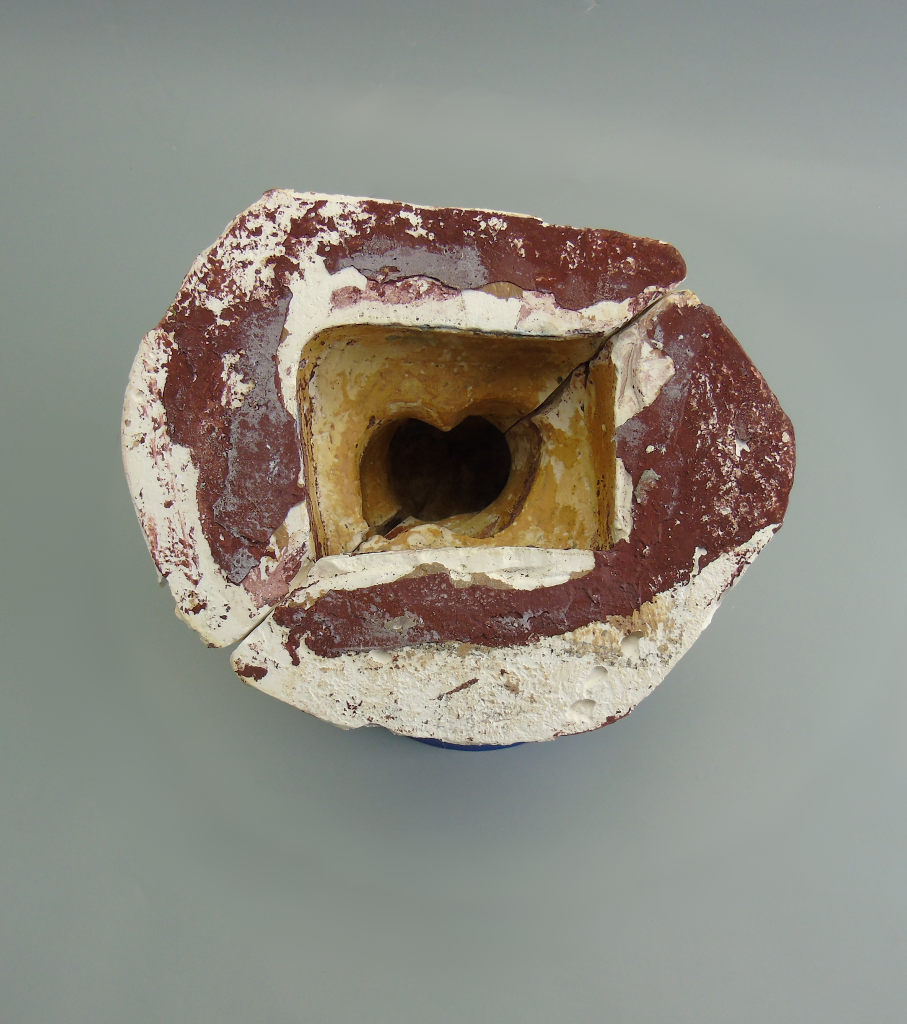
Once the mold is cleaned out, it is ready to be filled with cement.
Portland cement is a glue which seeks to bind. The cement glues together the pieces of whatever aggregate is used. In my work, I use the steel fibers of steel wool cut into pieces about 1/2 to 3/4" long. This holds down shrinkage and cracking, and makes the sculpture stronger.
Pigment is added to the cement, and it also serves as a very fine aggregate. I use earth pigments because they are the most colorfast and lend themselves well to a material that is mainly crushed stone.
The cement is mixed with a combination of water and acrylic polymers which strengthen the cement and enhance its binding capacity.
 Model
Two Casts
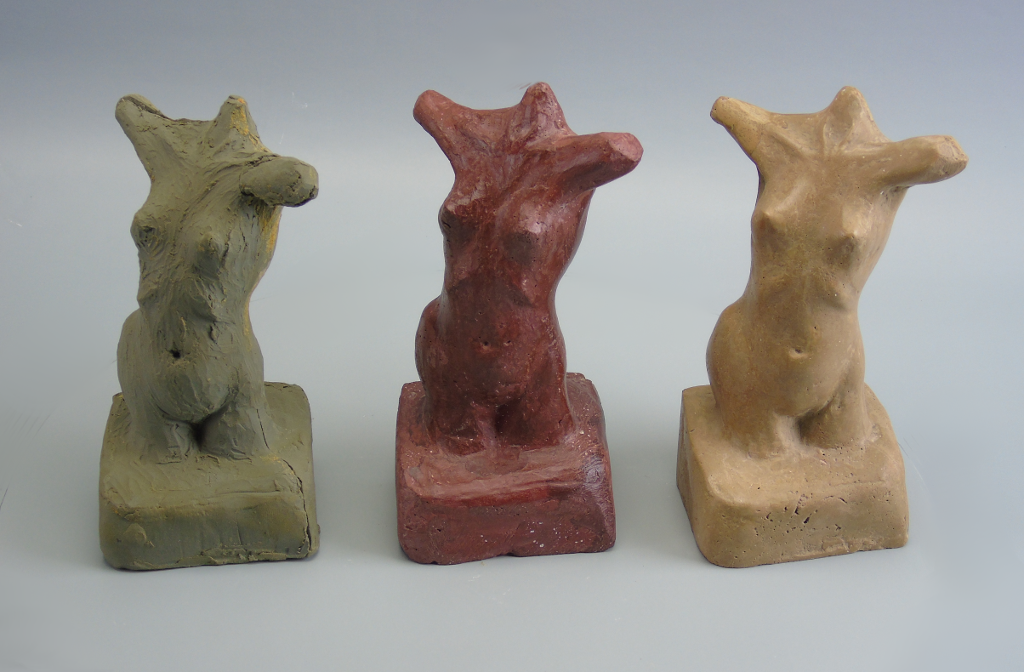
Here is the model and two casts made from the mold.
The process just described is called "waste mold casting". Normally the model is destroyed when the mold is opened for cleaning, and the mold is destroyed in order to remove the final piece.
In this case, I managed to save both the model and the mold, allowing me to make this demonstration.
The process just described is called "waste mold casting". Normally the model is destroyed when the mold is opened for cleaning, and the mold is destroyed in order to remove the final piece.
In this case, I managed to save both the model and the mold, allowing me to make this demonstration.
 Cast
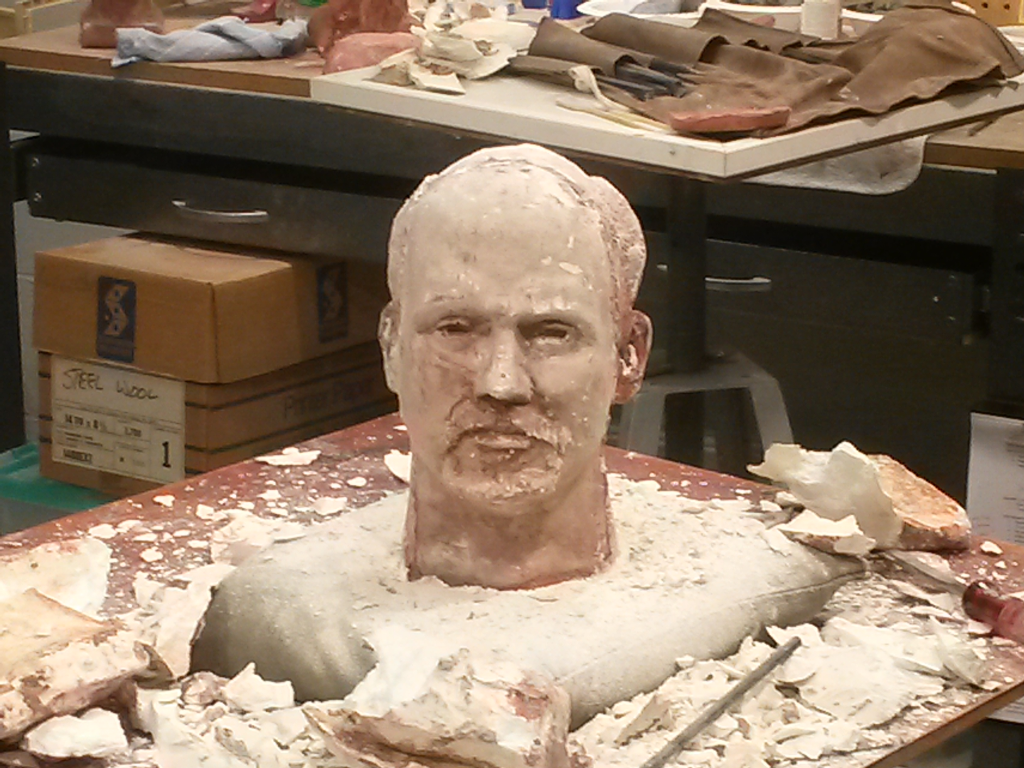
This shows the demolding of Jeff II. Click the link to see the finished piece.
Notice the pieces of plaster still clinging to the cement cast, and observe the pieces of plaster lying about.
The plaster has to be removed carefully with a chisel. The cement is harder than plaster, so the plaster will break first, but care is still needed not to accidentally damage the surface of the finished piece with the chisel.
The work doesn't stop once the mold is broken open. The finished piece has to be cleaned and the blemishes made by the seam where the two parts of the mold came together must be repaired. This is called chasing.